August 15, 2020
# Use Case
After tweaking an ML ensemble model for a few weeks it came time to deploy and in this case the project was utilizing an AWS pipeline. I had already dumped the trained model to an S3 bucket with joblib, so the goal now was to deploy an inference endpoint as an AWS Lambda function. Seemingly, it should be straightforward to load our model from S3 and apply a predict to fresh data; however, if you’re using standard larger packages such as numpy, scipy and scikit-learn, you will likely encounter the AWS deployment package limit of 250MB uncompressed. AWS offers layers as a way to pull in libraries (interesting article here) but even then, the size of all layers unzipped still cannot exceed this 250MB limit.
The Serverless framework has a lot to offer for this type of deployment, one of which is a serverless-python-requirements plugin which nicely compresses and zips up our dependencies into a small enough package for Lambda. Ultimately, we would like to configure Serverless to completely handle our deploy, so we can worry solely about our handler function and a requirements.txt file listing all our dependencies.
# Requirements
I won't go into installation details on each one but links are below to get you started:
Node.js
Docker
Serverless Framework
Python > pyenv is great for managing check out this article
VirtualEnv to manage a project level python environment
AWS account
# Setup
First go to Serverless to sign up for a free account. Then, we'll crack open a terminal and install Serverless globally with NPM. Once installed we can also login to the account that we just setup:
# terminal
$ npm install -g serverless
$ serverless login
Fantastic, with our basic tooling installed we can begin our adventure, so let’s generate a boilerplate using one of Serverless’ templates. With the --name and --path flags we’ll include a name for our service and a root folder path:
# terminal
serverless create --template aws-python3 --name blogtest --path src
This will provide you with the following folder/file structure:
| src
|	|— .gitignore
|	|— handler.py
|	|— serverless.yml
Of course, you can run git init and connect to a remote repo at this point to handle all your version control, and with Serverless you can connect a github repo for a CI/CD build, see more here. Apart from the default files and folders included in the .gitignore I'll also add:
# .gitignore
.requirements.zip
node_modules
__pycache__
.vscode
.idea
# Handler function
AWS Lambda will execute a designated function in our handler.py file. Lambda receives a payload via the event object, so a simple function to load that data, pull in the trained model and return the prediction, could look something like so:
import joblib
import boto3
import pandas as pd

def myfunc(event, context):
  DATA = pd.DataFrame(event['data'])

  client = boto3.client('s3', aws_access_key_id=ACCESS_KEY, aws_secret_access_key=SECRET_KEY)
  with open('./model_from_s3.sav', 'wb') as f:
    client.download_fileobj(BUCKET, 'model.sav', f)
    model = joblib.load('./model_from_s3.sav')

  inference = model.predict(DATA)

  return inference
Of course, you'll need to have your S3 bucket setup and grab your access key and secret. Further along, we'll also configure these as environment variables, in case you don't want to include them directly in the handler function.
# Virtual environment
Our handler.py function looks ok but we're importing a few libraries, so we'll setup a virtual environment both for local execution and to easily manage our dependencies for the Serverless deploy.
# terminal
cd src
virtualenv venv
source venv/bin/activate
In the code above, we've moved into our src folder and created a virtual environment which will install all the Python executables to a folder called venv ("venv" is a convention but you can call this anything). By default virtualenv will use the current running version of Python, unless you specify an interpreter - see docs for details. Finally, we activate the virtual environment and we can begin installing our required dependencies:
# terminal
(venv) $ pip install pandas boto3 joblib
(venv) $ pip freeze > requirements.txt
(venv) $ deactivate
We've installed our dependencies from within our virtual environment, and we create a requirements.txt file listing the packages. For now, we can deactivate the virtualenv, and we can always reactivate to install or update any packages as we modify our code.
# Serverless app creation
Let's get our Serverless app configured. Jump into the Serverless dashboard from a browser or if you want to do this from terminal we can use:
# terminal
sls dashboard
Notice we can use the alias sls for any serverless commands. Now, under your user icon, we'll go into org settings and take a look at Deployment Profiles, here's where we'll provide Serverless with our AWS credentials so it can access our account, and install the necessary resources for the deployment. Go ahead and add a profile, you'll have to give it a name and then connect/login to you AWS account as prompted.
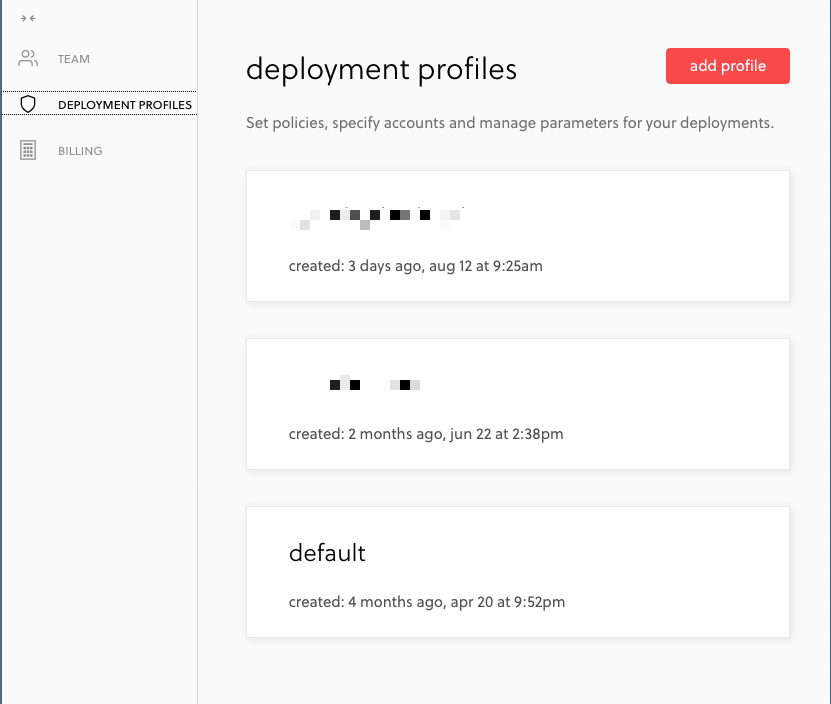 adding a deployment profile
After connecting our AWS account, we can create a new app and assign it the profile. From the apps dashboard, simply add an app, assign a name and deployment profile. You'll end up with an empty app on your dashboard:
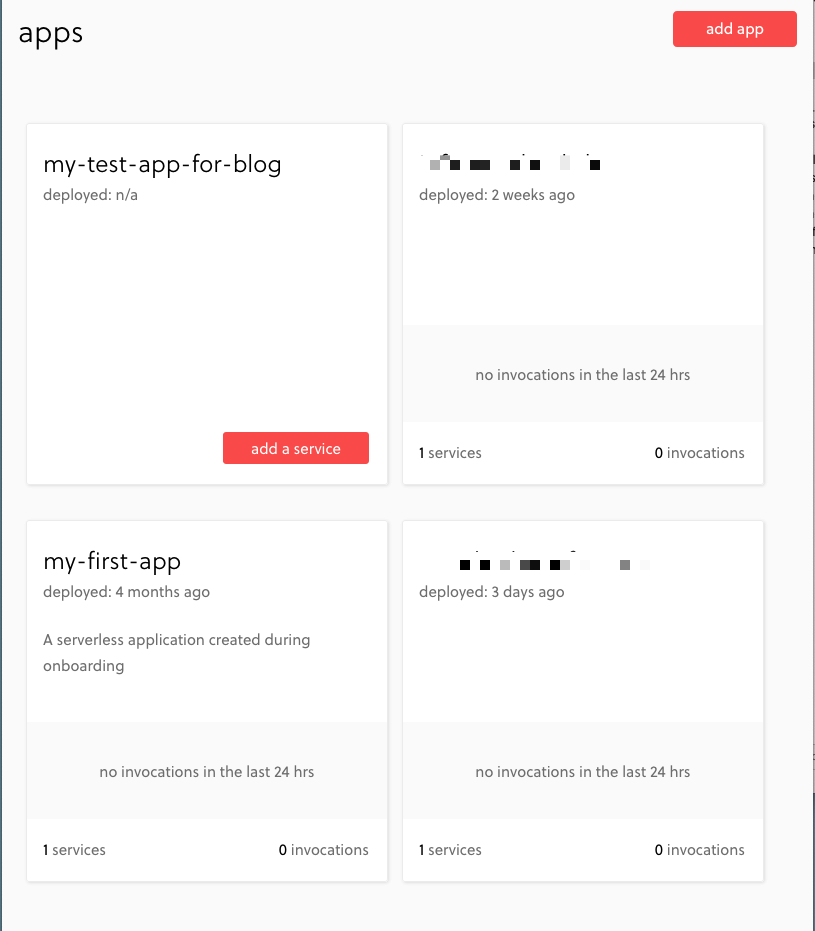 creating a test-app-for-blog, currently has no service attached
# Last steps
We'll hop back into our project folder and configure our serverless.yml file. Here's a sample:
# serverless.yml
service: myservice
app: my-test-app-for-blog
org: rodalberta

custom:
  bucket: mybucketons3
pythonRequirements:
	slim: true
	zip: true
	dockerizePip: non-linux

provider:
	name: aws
	runtime: python3.8
	region: us-east-2
	iamRoleStatements:
		- Effect: Allow
		Action:
			- s3:GetObject
		Resource: "arn:aws:s3:::${self:custom.bucket}/*"

package:
  exclude:
    - venv/**
    - node_modules/**
    - data/

functions:
  inference:
    handler: handler.myfunc
  environment:
    BUCKET: mybucketons3
    AWS_ACCESS: sOmERandom7exT
    AWS_SECRET: aV3ryL0Ng3ecrEt

plugins:
  - serverless-python-requirements
Let's review line by line:
- service - we can name anything we want
- app - matches the name we assigned in our dashboard
- org - matches the org created in our dashboard
- custom - we can create local variables and configure plugins
- bucket - i've created a variable with my bucket name, we'll use this in iamRoleStatements
- pythonRequirements - configures our plugin (more on this later)
- provider name/runtime/region - set as needed
- iamRoleStatements - if your handler function need to access external AWS resources you'll need to specify these, check out the docs and examples here, notice in the arn statement (ARNs) i've assigned the custom variable "bucket" as ${self:custom.bucket}
- package/exclude - don't want to make this package any bigger than it needs to be so let's exclude all the build directories and data folder if present
- functions - we define a function
- handler - we define the file (handler) and function (myfunc) to execute
- environment - here's where we can set some environment variables to access in our function
- plugins - the serverless-python-requirements is our secret ingredient to bundle all our dependencies
There's lots more you can do in this configuration file docs here, but this is a good baseline. But we're missing one component in our project, we haven't yet installed the serverless-python-requirements plugin. This is an npm package so let's start up a default npm project and install:
# terminal
npm init -y
npm install serverless-python-requirements --save
Perfect. In the serverless.yml file we set a few option for this plugin. the slim option will strip a few unnecessary files to keep things trimmed down. And what we're really needing is the zip option to compress our libraries. the dockerizePip option uses a Docker container to package our requirements in an environment similar to the Lambda environment to make sure everything is compatible. Read more about the plugin in the docs here.
Everything is almost set, but we have to include one more important snippet at the top of our handler function to decompress the zipped packages:
# handler.py
try:
  import unzip_requirements
except ImportError:
  pass
That's it! And finally, we're ready to deploy to AWS, let's add in the --verbose flag so we can get a few more logs:
# terminal
sls deploy --verbose
We can invoke the function locally - and we can include local sample data with the --path flag for a quick test:
# terminal
serverless invoke -f handler --log --path data/test_data.json
# Potential hangups
Depending on your AWS user you'll likely run into a few permission exceptions, you'll have to handle these one-by-one. Serverless accesses several AWS resources souch as CloudFormation and S3, but if there is a permission revoked you should see this during the deploy. Also, keep in mind that there is a 6MB payload limit, if you're attempting to invoke the function with more than that you'll have to explore other options. You may need to review the permissions of your handler.py file - If AWS can't execute you can resolve with a simple chmod:
# terminal
chmod 755 handler.py
Working around the limitations of AWS can be frustrating if you've tried to do some of this manually. However, the Serverless framework offers alot of configurability and a great platform for easy deployment and plugin integration. Looks like they're updating their Dashboard soon so I'll have to update this post as they roll out the new version.